Colours from Nature - A Dyer's Garden
As the evenings begin to draw in, gardens and allotments have come full circle and the season is slowly coming to an end, but there is still much colour to come if you've grown a few dye plants. Many plants produce vibrant and beautiful colours and can be used to colour wools and cotton fabrics which in turn can be used in many creative activities. It's a real lift to the spirits over the dark winter months to make something with your colourful dyed materials - very therapeutic!

My stash of natural dyed yarns blends in well with the colours of nature.
Different parts of plants are used for dying, some come from the flowers, others it's the stems and leaves and some the roots. Recently I attended a work shop on dyeing with weld, which gives a vibrant yellow, and walnut husks giving a rich earthy brown and sometimes earthy pinks!

Picture of weld (Reseda luteola)
Plant dyes do not work on synthetic fibres so we had to bring along natural materials, either fleece from sheep/alpacas, or wool yarn. It’s possible to dye plant based fabrics such as cotton, and linen but the process takes longer and was not to be included this time. Whatever we chose had to be washed and brought along wet.

Fleece waiting to be washed.
The first step was to mordent the fibre. A mordant is a chemical binding agent that sticks to both the fibre and dye. Without it most dyes would not stick. We were given some alum powder and cream of tartar which we dissolved and put in a large pan of water. The materials were weighed and put into the pot to simmer for an hour. Some of our wool was left out as we would not need to use a mordent for the walnuts. While we waited we prepared the walnut dye bath. The husks of these had been soaked for 3 days, then boiled and left to soak overnight. We strained the liquid into another large container and added our wool and let it simmer for 2 hours.

The prepared walnuts.
We then had lunch while the mordant pot was turned off and left to cool, and the walnut pot simmered away. After lunch it was time to prepare the weld dye bath. This too had been prepared the day before. The leaves and stems had been chopped up small, placed in a large pot of water and simmered for half hour before soaking overnight. We drained the yellow liquid and put in the wool. It was brought up to simmer for an hour and then left to cool.

Fleece about to go into the weld solution.
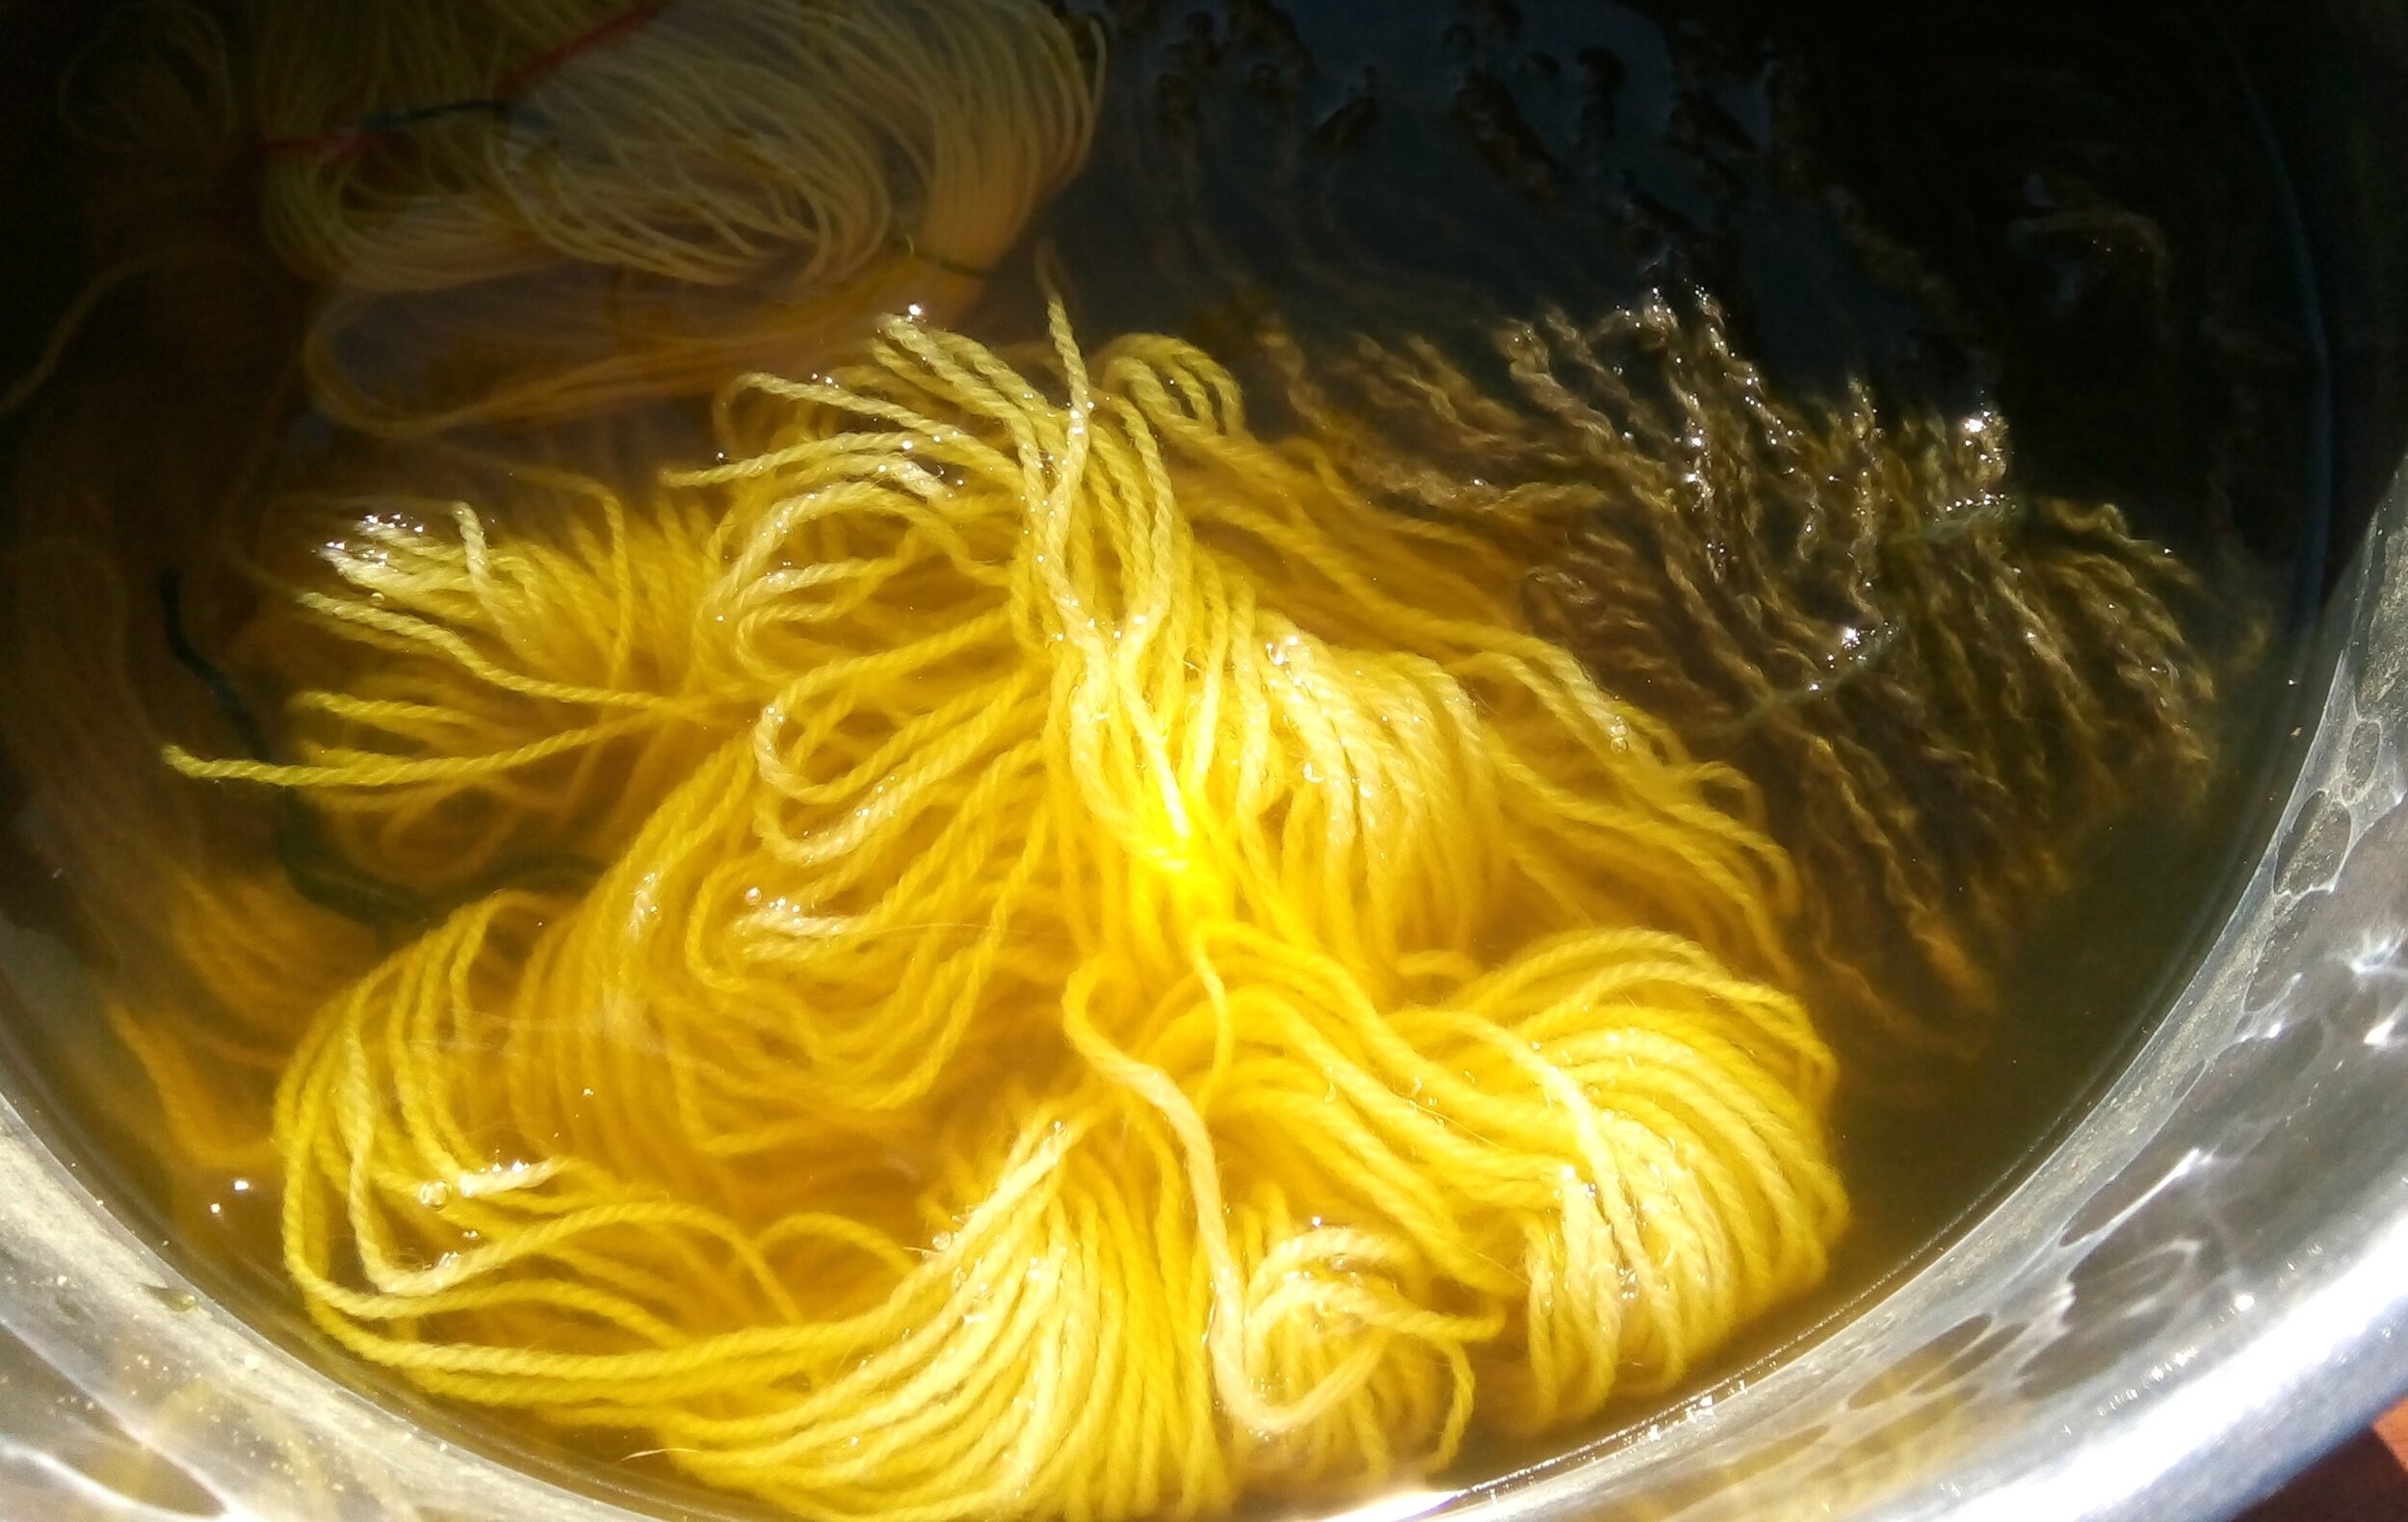
Peering into the dye pot.

Wool being removed from the weld dye pot.

Looking at the colour from the walnuts
We were also shown that by adding a little iron to the dye vat it was possible to change a yellow dyed wool to an olive green colour. (Iron water can be made by leaving a couple of rusty nails in a jar of water).

Fleece drying - weld on the right and 'saddened' with iron on the left.
Once everything was cool it was washed well to remove surplus dye and then taken home to dry. The wool in the walnut dye pot was to be left in overnight as we wanted a richer colour than it was presently. It is also possible to over dye to make new colours. A good green dye is hard to achieve from any single plant but by over dying yellow weld with either blue indigo or woad you can produce some lovely greens. There are lots of dye plants that can be grown in the garden or allotment. Weld and many others can be grown from seed. Even onion skins can make lovely golden yellows and browns and no mordent is needed. Natural dyeing is a slow process, but there is the satisfaction of growing your own dye plants, and knowing it is not dependent on non-renewable materials that are used to make modern day chemical dyes. I now have more colours to add to my stash. All I have to do now is decide what to make!

Picture of finished skeins
Author - Local Resident - Jeanne